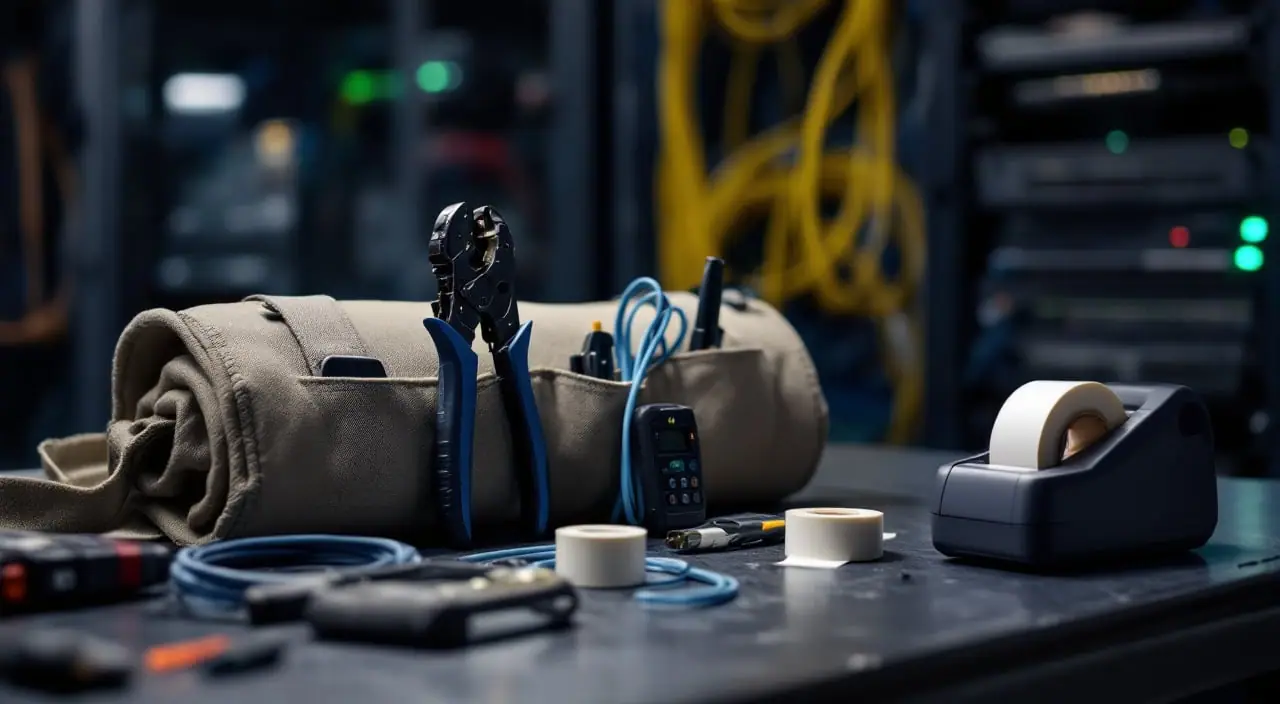
A network technician's tool kit: tester, crimper, console cable and labels
A working network technician's tool kit is smaller than the catalogs suggest. You need a console cable for your laptop, a wiremap cable tester with a remote, a ratcheting crimper with a bag of plugs, a label maker, a pack of hook-and-loop ties and a box of known-good spares. That covers most closet work for a desktop support tech, a junior admin or a home-lab builder. Everything else is a nicer version of one of those, or a specialist tool for work you may never be asked to do.
When I ran a help desk, the techs who moved up fastest did not carry the heaviest bags. They could get onto a switch console, prove a cable good or bad in a minute, and leave the closet better labeled than they found it. This list is built around those jobs.
Three questions before you buy anything
- What do you plug into? If you configure switches, routers or firewalls, you need console access. If you only move desks, you mostly need a tester and labels.
- Do you make cables or only use them? Crimping your own plugs is a repair skill, not a daily habit. Patch cables are better bought.
- Whose network is it? At work, ask what the team already has before spending your own money. For a home lab, the basics below are plenty.
The network technician tool kit at a glance
| Need | What to look for | Why |
|---|---|---|
| Console access | USB to RJ45 console cable, USB-A or USB-C to match your laptop | Gets you into a switch that has no IP address yet, or has lost it |
| Cable testing | Wiremap tester with a remote unit, preferably with tone | Finds opens, shorts and crossed pairs, and which cable is which |
| Quick checks | Pocket pass/fail tester | Checks a patch cable or wall jack in seconds |
| Termination | Ratcheting crimper for standard RJ45, plugs that match your cable | A full, even crimp every time |
| Labeling | Label maker with laminated tape | Labels that survive hands, dust and years |
| Cable management | Reusable hook-and-loop ties | Holds bundles without crushing them, comes undone for the next change |
| Spares | A box of known-good parts | Swapping a part is faster than diagnosing it |
Console access
A console cable is the one tool you cannot borrow at 2 a.m. It connects your laptop's USB port to the RJ45 console port on a switch or router and gives you a serial session that works even when the device has no IP address or a broken configuration.
Many switches and routers use the Cisco-style RJ45 console pinout, but not all, so check the device manual. Some newer gear also has a USB console port, which takes a plain USB cable.
On the laptop side, the cable shows up as a serial port: a COM port in Windows Device Manager, something like /dev/ttyUSB0 on Linux, or /dev/tty.usbserial-* on a Mac. A very common default is 9600 baud, 8 data bits, no parity, 1 stop bit and no flow control. From a Mac or Linux terminal:
ls /dev/ttyUSB*            # Linux: find the port
screen /dev/ttyUSB0 9600
ls /dev/tty.usb*           # macOS: the name varies by cable
To leave screen, press Ctrl-A, then K, and confirm with Y. On Windows, PuTTY in Serial mode does the same job. If no new port appears, the cable's USB-to-serial chip may need a driver from the maker's site.
Where a simpler choice works: any console cable that matches your laptop's ports will do. Buy the USB-C version if your laptop has nothing else, rather than carrying a dongle that will go missing.
Cable testing
A wiremap tester checks all eight conductors end to end and tells you whether each one arrives on the right pin. It catches opens (a broken wire), shorts (two wires touching), crossed pairs and reversed pairs. Simple continuity testers cannot see a split pair, where the pins match but the twisting is wrong; testers that can detect one say so on the spec sheet.
The remote unit is what makes a tester useful in a building: main unit at the patch panel, remote at the desk. A tester with tone adds a probe. The tester puts a signal on the cable and the probe finds it in a bundle of identical gray cables in the ceiling, which is most of the job on an office move.
Know the limit: a wiremap tester proves the wiring, not the performance. Whether a run will carry 1 Gbps or 10 Gbps under load is a job for a qualification or certification tester (see the last section).
For checking patch cables at a desk or in a home lab, a pocket pass/fail tester is enough. Keep the full kit with the remote and tone for closets and wall jacks.
One warning that applies to every tester: do not plug one into a live switch port, and especially not a PoE port, unless its manual says it is protected. PoE puts around 50 volts DC on the pairs, and the PoE classes table shows how much power some ports can deliver.
Termination
You will crimp plugs more often than you expect: a damaged plug on a long run, a ceiling drop to an access point. A ratcheting crimper does not release until the crimp is complete, so the twentieth plug of the day comes out like the first.
Match the plug to the cable. Plugs are sold for solid or stranded conductors and for different cable categories and thicknesses, and the wrong one is the usual reason a hand-made cable fails the tester. Pass-through plugs, where the wires poke out the front and get trimmed flush, need a crimper made for them.
Pick one wiring standard, T568A or T568B, and use it on both ends. Most sites have a house standard. Find out what it is and follow it.
Patch cords usually have stranded conductors so they can flex, while building runs use solid ones. One more reason to buy patch cables and crimp only for repairs and real runs.
If you only terminate a few cables a year, a simple non-ratcheting crimper will work, as long as you test every cable you make. For keystone jacks, the plastic punch tool that comes in the bag will do for a handful of jacks. A proper impact punch-down tool earns its place once you are working on patch panels.
Labeling and documentation
Label both ends of every cable with the same identifier, and label the ports they land in. A scheme like closet, panel and port (2A-PP1-14) is easy to read and easy to sort. For cables, wrap the tape around the jacket and stick it to itself so it sticks out like a flag. A strip laid along the jacket peels off within a year.
A label maker with laminated tape is worth having, because handwriting smudges and paper labels fade. Put the same text in the switch port description, so the label, the documentation and the monitoring system all use one name. That habit is the bridge between the closet and the records, and documenting your network covers what goes into those records and how to keep them true.
Take photos too. A picture of a closet before and after a change costs nothing and settles a lot of arguments.
In a small home lab, a fine permanent marker on white tape works for the first year. Once you have a patch panel, get the label maker.
Cable management
Use hook-and-loop ties in racks and closets, not plastic zip ties. Zip ties pulled tight can deform the pairs, leave sharp cut ends, and taking one off means bringing a blade close to live cables. A hook-and-loop tie comes undone when the cable has to move, and something always has to move.
Keep bundles loose enough to slide a finger under the tie, and leave a little slack at each end for a future re-termination.
A generic roll of hook-and-loop strap, cut to length, is as good as pre-cut ties for most work. A pair of flush cutters for removing old zip ties safely is the only other thing you need here.
The spare-parts box
This box ends more outages than any tool in the bag:
- known-good patch cables in three lengths, tested before they go in
- a spare console cable
- a few RJ45 plugs, boots and keystone jacks
- a small unmanaged switch, for when you need two more ports right now
- a USB-to-Ethernet adapter for a laptop without a port
- a spare power cord of the kind your switches use
- one or two spare SFP modules that match your switches, if you use them
- a USB stick with current firmware images and a recent copy of each device's configuration
- a spare label tape cartridge and batteries for the tester
The rule: anything you take out gets replaced the same week, and anything suspect gets thrown out, not put back.
Using the kit alongside your monitoring
The monitoring system usually tells you to go get the tester before a user does. Three signs point at the physical layer:
- Rising input errors on one port. A slow climb in
ifInErrorson a single access port is often a damaged cable or a bad termination. Interface counters explained shows how to read them as a rate rather than a total. - A link that drops and comes back. Repeated up and down events on one port point at a loose plug, a damaged jack or a cable that gets kicked.
- A gigabit port running at 100 Mbps. Gigabit Ethernet needs all four pairs, while 100 Mbps uses two. A broken pair often shows up as a link that negotiates down instead of failing.
You can pull the error counters and negotiated speeds from a laptop on the management network. The community string is a made-up example; on any network you do not fully trust, use SNMPv3.
snmpwalk -v2c -c n0c-r34d 192.0.2.10 IF-MIB::ifInErrors
snmpwalk -v2c -c n0c-r34d 192.0.2.10 IF-MIB::ifHighSpeed
snmpwalk -v2c -c n0c-r34d 192.0.2.10 IF-MIB::ifAlias
ifHighSpeed reports the port speed in Mbps. ifAlias is the port description, where your label text belongs. If the monitor and the label at the desk both say "2A-PP1-14", the next technician can find the problem without you.
When to spend more
- You certify cabling for others. Contractors and installers who sign off new runs need a certification tester that measures against the category standards. These are specialist instruments; many people rent one for the job.
- You troubleshoot lots of unknown ports. Testers that read LLDP or CDP show which switch and port a wall jack lands on, its VLAN and whether it offers PoE.
- You work with fiber. Fiber needs its own kit: cleaning tools, an inspection scope and a light source with a power meter. The habit to learn first is to clean and inspect every connector before you plug it in.
- You terminate all day. A higher-volume crimping system and a label printer that prints batches from a computer make sense on big projects.
For most people reading this, none of that is needed yet. If you are working through the stages in from help desk to network engineer, the kit above is the stage 2 toolbox. Put it together, learn each tool properly, and keep the spare-parts box honest.
next: Transfer time and bandwidth for the numbers, the Rack list for the gear