Home lab setup: the hardware list for a first small rack
A home lab setup that stays tidy and easy to monitor goes together in this order: a frame (an open rack, or a shelf if the gear is small), a UPS, a patch panel, a switch your monitor can poll, the box that runs the monitoring, then labels, ties and a temperature sensor. Measure every item's depth before you order the rack, keep the heavy battery low, and from day one graph the UPS, the switch and the closet air.
Three questions before you buy anything
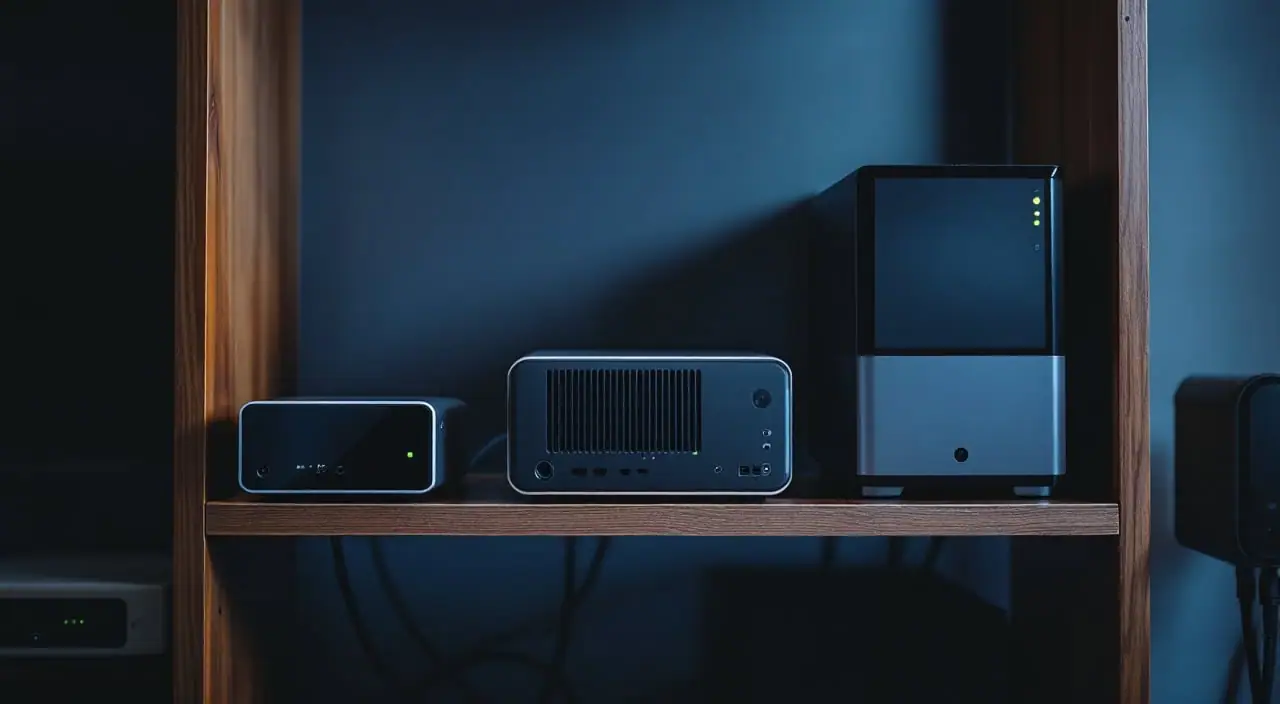
- What is going in? List each item with its depth and how it mounts: rack ears, a flat base for a shelf, or a wall bracket. A modem, a router, a small switch, a mini PC and perhaps a NAS is the usual first rack.
- What does it draw, and what has to stay up? The modem, router and switch carry your alerts, so they belong on battery. Measure the whole shelf at the wall with a plug-in meter.
- Where will it live? A closed closet holds heat, and a room where people work will not put up with fan noise.
The home lab setup, in build order
1. A frame
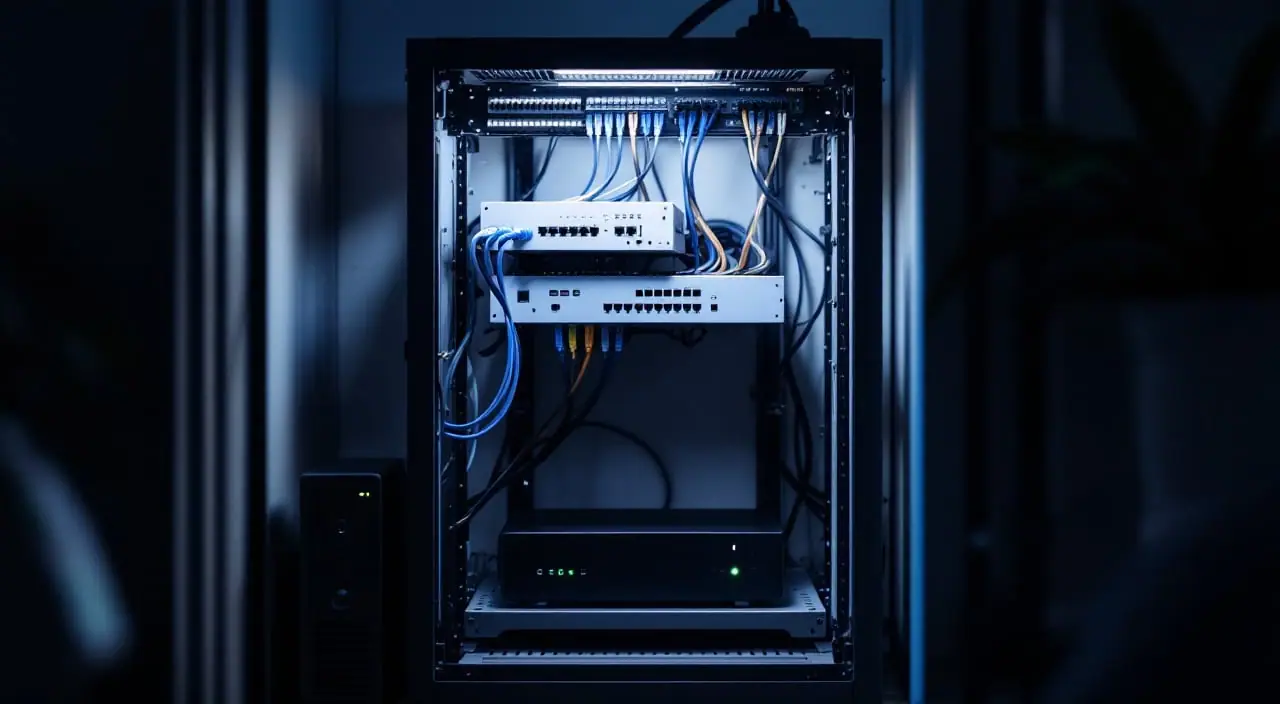
An open four-post frame is the easiest start: cables are reachable from every side and air moves freely. ECHOGEAR's 15U open frame is 26.25 in tall and 20.24 in deep, made for gear up to 19 in deep, and ships with two vented shelves (1U at 15.12 in deep, 2U at 18 in), 25 rack screws in the common #10-32 size and four leveling feet. It can also hang on a wall. A rack unit is 1.75 in, so 15U leaves gaps for air and for next year.
If the whole lab is a modem, a router and a Pi, a good shelf is honestly enough. Buy the rack when the shelf turns into a tangle.
2. Power, before anything else
The UPS goes in first because everything else plugs into it. Plug it straight into a wall outlet, not a power strip or an extension cord, and keep it low: the battery is the heaviest thing in the build, and lead-acid batteries age faster in the heat that collects near a closet ceiling.
Count battery-backed outlets, not total outlets. The APC BE850G2 is rated 850 VA and 450 W, with nine outlets: six with battery and surge protection, three with surge only. The modem goes on the battery side, because a router on battery with a dark modem still means no internet. The USB data port is the one NUT reads; the two USB charging ports only carry power. The UPS sizing guide works through VA, watts and outlets with a real closet load.
An electrician's note: know which circuit feeds the closet. A small lab uses a fraction of a 15 A circuit's 1,800 W, but if that circuit also feeds a freezer or a window air conditioner, find out before the UPS starts beeping.
3. Patching
The patch panel goes near the top. A keystone panel has 24 openings for snap-in modules: punch-down jacks where in-wall cable from the rest of the house ends, or pass-through couplers if you only want tidy cords. Check what comes in the box and match the modules to your cable category. The rear bar takes the weight of the incoming runs, and short cords drop to the switch below.
4. The switch
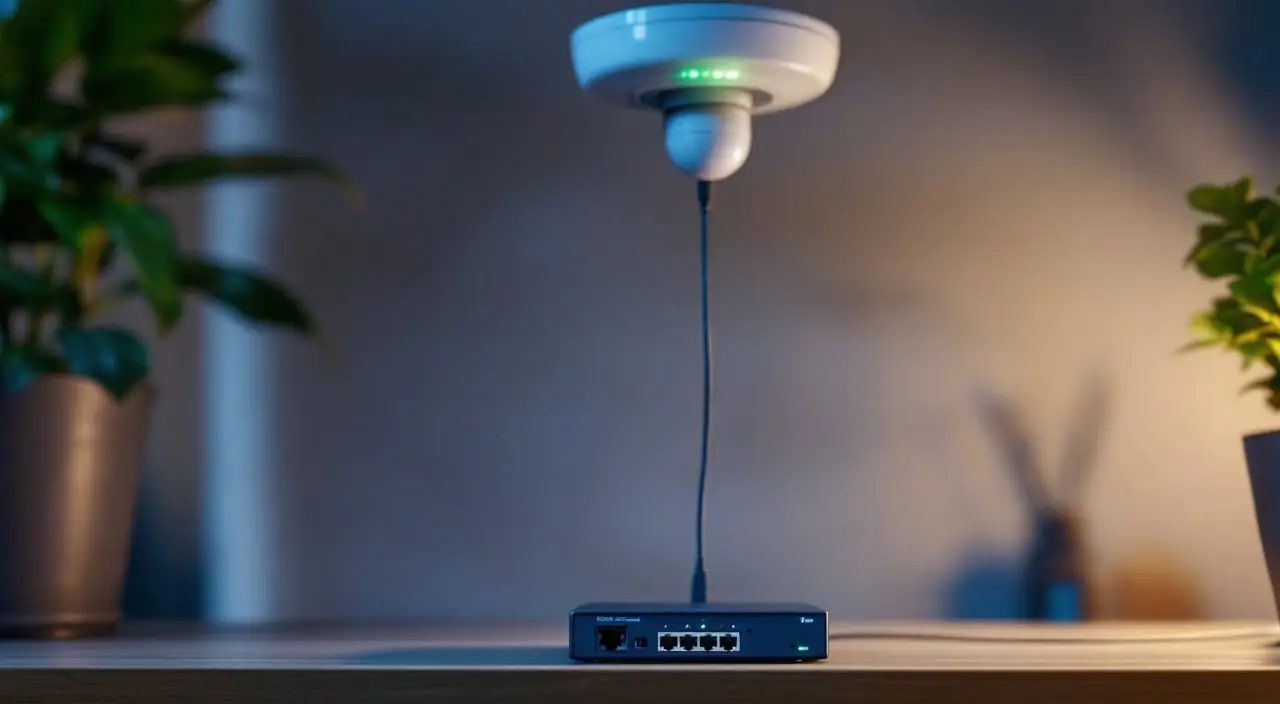
The switch is the first thing your monitor should poll, so buy one with SNMP. The TP-Link Omada SG2008P (still sold in many shops as the TL-SG2008P) has eight gigabit ports, four of them PoE+ with a 62 W budget, SNMP v1, v2c and v3, and no fan. At 8.2 by 4.9 in it is desktop-sized, so it sits on the 1U shelf. With the full PoE budget in use, TP-Link quotes roughly 70 to 77 W depending on hardware version, and that load lands on the UPS too. TP-Link now lists it as end of sale beside a newer SG2008P, so read the sheet for whichever one arrives. Why the SNMP line matters more than port count is in choosing a managed switch.
5. The monitoring box
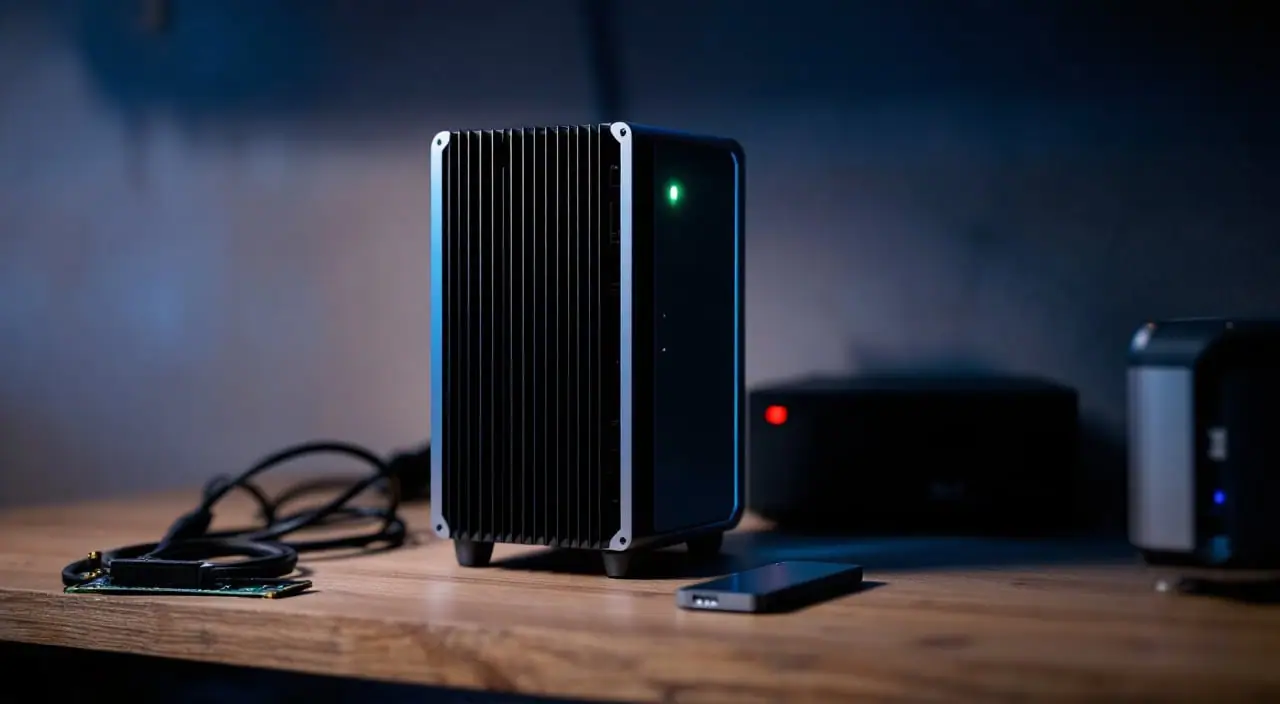
A Raspberry Pi runs a small monitor well. An N100 or N150 mini PC adds x86, more memory and room for containers. The Beelink Mini S13 comes with an Intel N150, 16 GB of memory, a 500 GB SSD and 2.5 GbE: enough for LibreNMS or Zabbix, Grafana and NUT. It takes the UPS's USB cable, which makes it the NUT primary and the last machine to shut down.
6. Labels and cable management
Label both ends of every cable and every panel port before the rack goes back into the closet. A laminated-tape label maker does it properly: the PT-D410 takes Brother's TZe tapes from 3.5 to 18 mm wide, including flexible ID tape that wraps around a cable. Use one scheme everywhere, so panel port 7 is wall jack 7 and row 7 of your records; documenting your network shows how to keep that from drifting.
Bundle with hook-and-loop ties, not zip ties. They come undone when a cable has to move and do not crush the pairs when pulled tight.
7. A temperature sensor
Last, a sensor for the air. A Wi-Fi thermometer and hygrometer on the top shelf is the simple version: the Govee H5179 runs on three AA batteries, joins 2.4 GHz Wi-Fi only, sends app alerts when a reading leaves the range you set, and exports its history as CSV. It reports to Govee's app, not to your monitor, and I count that as a feature: the heat alert still arrives when the monitoring box has cooked itself.
Affiliate links: we may earn a commission. We also earn from qualifying purchases on eBay.
rack list
- UGREEN NASSmall NAS boxes for lab backups, config archives and long graph history.Try UGREEN NAS
Depth and mounting checks
- Depth plus cables. Add 3 to 4 in behind each item for plugs, bend radius and power bricks; the 19 in figure is for the gear's body.
- Ears or shelves. Most first-rack gear has no ears and lives on shelves, so plan shelf space, not only rack units.
- Rail holes. Square holes take cage nuts; ECHOGEAR's frame has round holes and includes its nuts, so square-hole kits may need other hardware.
- Weight low, light high: UPS on the floor, patch panel at the top.
- Walls. Hang a frame from studs or masonry with fasteners rated for the loaded weight, never from drywall anchors. ECHOGEAR's 600 lb rating describes the rack, not your wall.
A first 15U layout with room to grow:
U15      patch panel, 24 keystone ports
U14      gap: patch cords drop to the switch
U13      1U vented shelf: switch
U12      gap for air
U11-U10  2U vented shelf: mini PC, modem, router
U9-U1    free for later
floor    UPS, close to the wall outlet
Airflow and heat in a closet
Nearly every watt your gear draws ends up as heat. A lab drawing 100 W is a 100 W heater that never switches off, about 341 BTU per hour (1 W is 3.412 BTU/h). In an open basement it disappears. In a closet with the door shut, the temperature climbs until heat leaves through the door and walls as fast as the gear makes it, which can be well above the room.
What helps, in the order I try it: leave 1U between the switch and anything warm, and never stack a mini PC on a NAS; give air a way in low and out high, with a louvered door or a gap under it; add a small, quiet exhaust fan near the ceiling if that is not enough; keep the UPS out of the warmest air.
Fanless gear does not get louder when it gets hot; it throttles or fails quietly, so measure instead of listening. Put the sensor at the height of the top piece of gear, at the front where air goes in.
What to look for, in one table
| Need | What to look for | Why |
|---|---|---|
| Frame | Open four-post 19 in frame, deeper than your deepest item | Cables reachable, free airflow |
| Power | Watts at least twice the measured load, enough battery outlets, USB data port | Runtime, network gear on battery, NUT shutdowns |
| Patching | 1U keystone panel with a rear cable bar | In-wall runs end in one place |
| Switch | SNMP v2c and v3, PoE budget above your total | Per-port graphs, power for access points |
| Monitoring box | Mini PC or Pi, SSD, wired Ethernet | Runs the monitor and NUT |
| Labels and ties | Laminated tape, hook-and-loop ties | Labels last, cables can move |
| Closet sensor | Alerts that do not depend on the monitor | A heat warning when the monitor is down |
The short list
Five pieces form the core of a first rack. The UPS is the one almost every lab needs, rack or no rack. The ECHOGEAR open frame is the leaner way to get 19 in rails: no doors, no side panels. The keystone panel is the step up from runs going straight into the switch. The SG2008P brings SNMP and PoE+, and the Mini S13 runs the monitoring.
I picked these from manufacturer spec sheets and published owner and reviewer reports; none has passed through my hands for this piece. Revisions change quietly, so read the current sheet before ordering.
Monitoring the rack once it is built
Start with the UPS. Plug its USB data cable into the mini PC and install Network UPS Tools; NUT's hardware list includes the Back-UPS ES 850G2 under the usbhid-ups driver. The whole setup, through a tested shutdown order, is in UPS monitoring with NUT. Graph battery.charge, battery.runtime and ups.load, and alert on ups.status: OL is line power, OB on battery, LB low battery, RB replace battery.
Next the switch: management address on the management VLAN, an SNMPv3 user, a check from the monitoring box. Then the mini PC's own sensors.
upsc rackups@localhost ups.status
snmpwalk -v3 -l authPriv -u monitor -a SHA -A "$AUTH_PASS" -x AES -X "$PRIV_PASS" \
  10.0.10.2 IF-MIB::ifOperStatus
sensors
Alerts worth setting on day one:
- UPS on battery (
OB) for more than a minute, andRBwhenever it appears. - Switch uplink down,
ifInErrorsclimbing on any port, andsysUpTimedropping near zero, which at home usually means a power event. - Closet temperature. ASHRAE's recommended range for data center intake air tops out at 27 C (about 81 F); a closet can run warmer, so I warn around 30 C (86 F), alert at 35 C (95 F) and adjust after a summer of data.
- Mini PC CPU temperature, so a blocked vent shows up before the box throttles.
When to spend more
- Noise, dust, children or pets: an enclosed cabinet with a fan, airflow planned first.
- A server with an active PFC power supply: a bigger, pure sine UPS. The UPS runtime calculator shows what a larger battery buys.
- More PoE devices than four ports and 62 W can feed: a 16 or 24-port PoE switch, which usually brings a fan.
- Gear deeper than 19 in, such as used 1U servers: a deeper rack.
- A closet worth watching from the monitor itself: an environmental sensor that speaks SNMP.
Short of those, the list above is a complete first rack. Build it in order, label as you go, and have the UPS, the switch and the closet temperature on a graph before the first hot week of summer.
next: PoE budget calculator for the numbers, the Rack list for the gear